

Cookies & Privacy
This website uses cookies or similar techonoglies to enhance your browsing experience and provide personalized recommendations. By contrinuing to use our website, you agree... Cookie Policy

Thank you for joining SEEMEO.
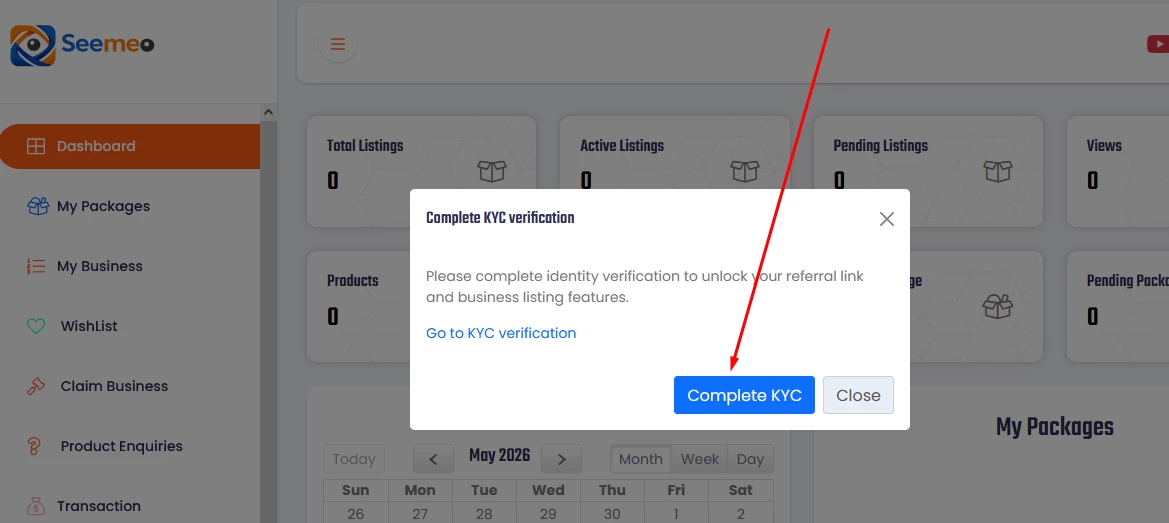
Now that you have successfully signed up, the next step is to list your business on the platform. However, before you can create a business listing, you need to complete your KYC (Know Your Customer) verification.
SEEMEO is a trusted platform that takes business verification seriously to ensure credibility, transparency, and trust among users.
Please note:
You can still use SEEMEO without completing KYC verification, but you will not be able to:
List your business
Refer other businesses
Access your referral link and referral code
Your referral link and code will remain hidden until your KYC is approved.
Click on “Complete KYC.”
Fill in the required details, including:
Uploading a valid ID card
Entering your full name
Providing your address
Entering your ID number
Submit the form.
Once submitted, your KYC application will remain pending until approved by the Admin team. After approval:
You will be able to list your business
Your referral link and referral code will become visible
On the left side of the dashboard navigation menu, click on “Business.”
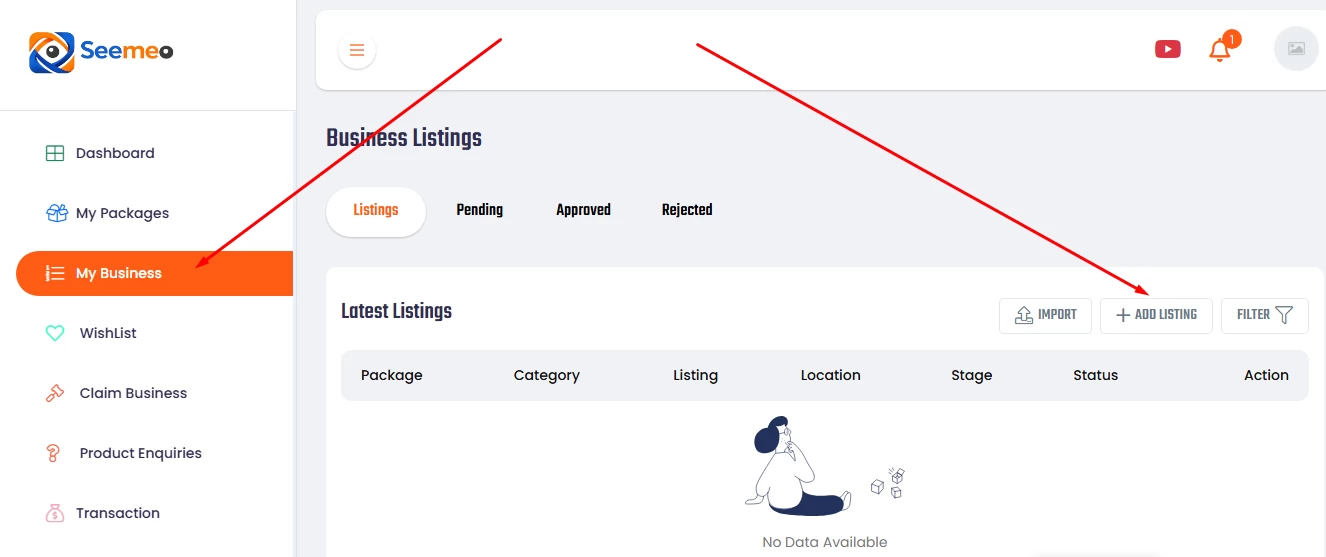
Click on “Add Listing.”
Select the Free Plan and click “Create.”
Complete the required business details, including:
Business Title
Permalink (auto-generated but editable)
The permalink is the direct link to your business page on SEEMEO, so you can customize it to your preferred format.
Also provide:
Email Address
Phone Number
Business Description
Under the Location section:
Select your country
Select your state
Select your city
Enter your business address
Your latitude and longitude will be automatically generated for you.
Select the days and hours your business operates.
If your business does not operate on certain days, simply leave those days unselected.
Add your website and social media accounts by:
Selecting the appropriate social media icon
Entering the corresponding link
Once completed, click “Save Changes.”
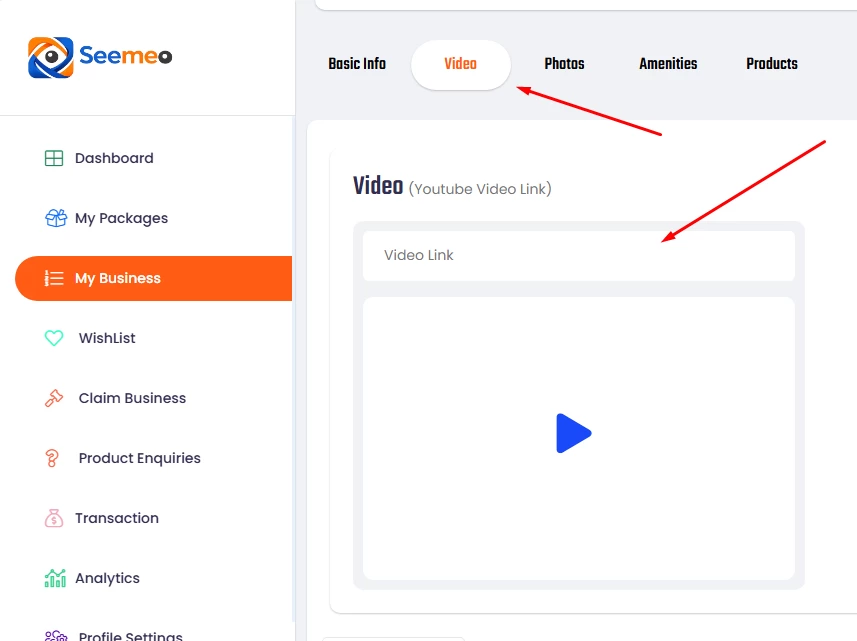
This section allows you to display a business video on your profile.
Click on the “Video” button
Enter your YouTube video link
Click “Save Changes”
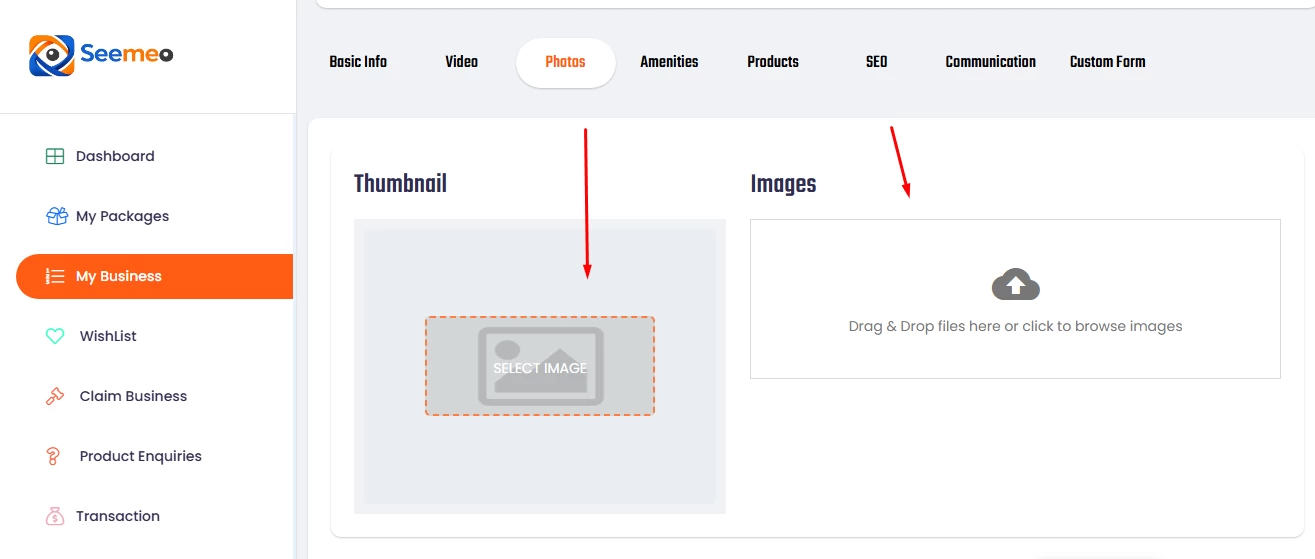
The Photo section allows you to upload:
A business thumbnail
Background images
Profile images
Click on the “Photo” button
Upload your images
Click “Save Changes”
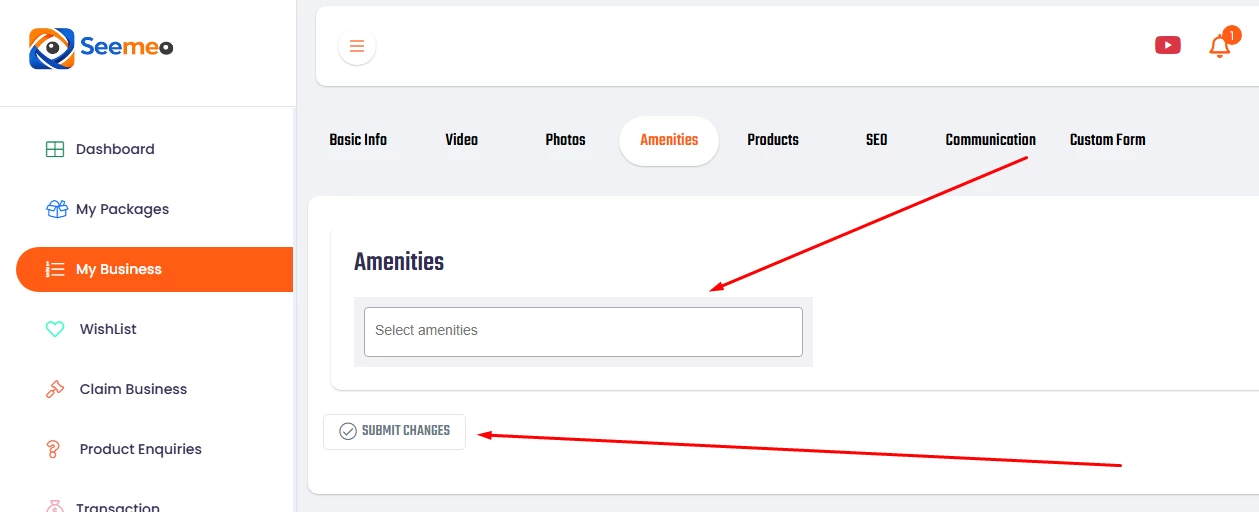
Click on the “Amenities” button
Select the amenities that relate to your business
Click “Save Changes”
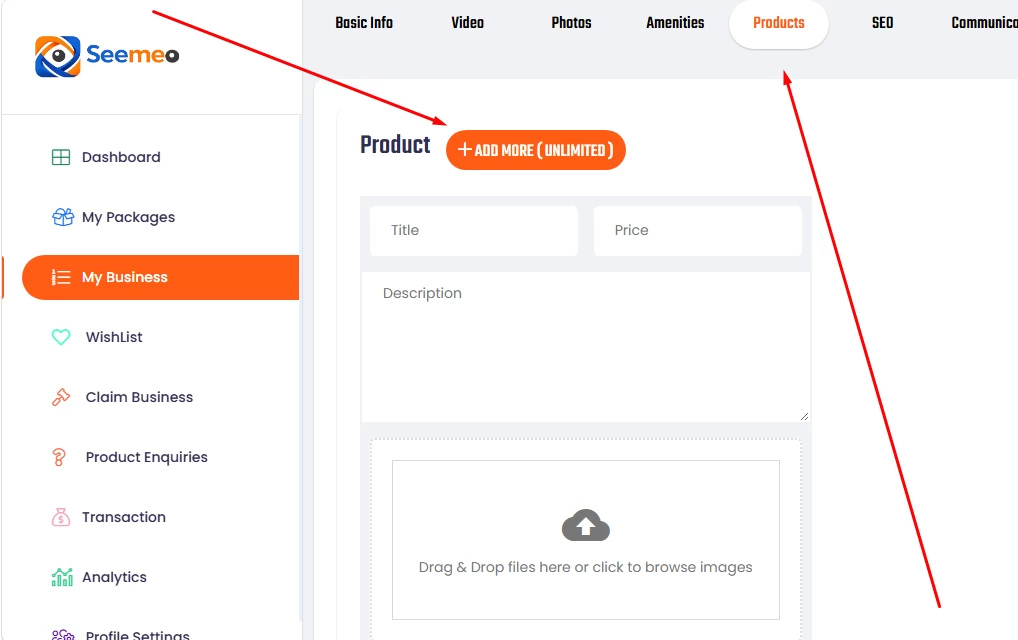
If you do not sell products, you may skip this section.
To add products:
Click on the “Product” button
Enter:
Product title
Product price
Product description
Upload the product image
Click “Save Changes”
You can add multiple products by clicking the “Add More” button.
SEEMEO allows unlimited product uploads.
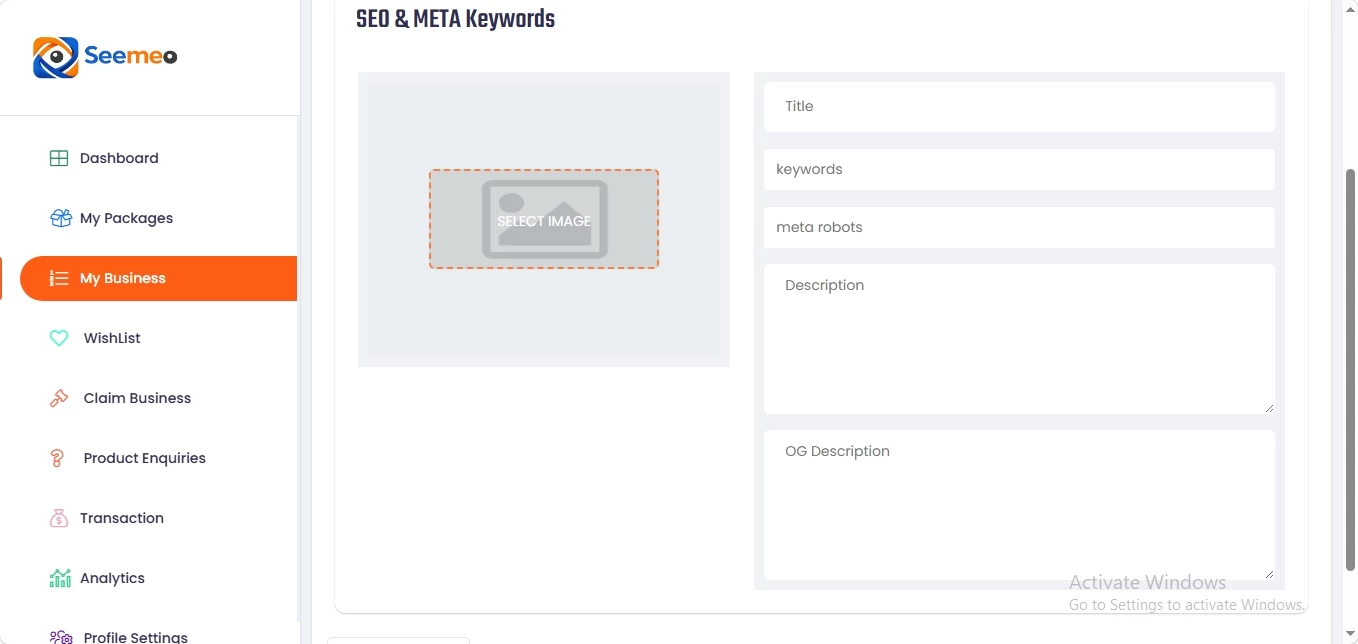
SEO stands for Search Engine Optimization. This feature helps search engines like Google discover and display your business more easily.
Click on the “SEO” button
Complete the required fields, including:
Title (your business name)
Keywords (keywords related to your business separated by commas)
This section allows you to connect communication channels directly to your SEEMEO business page.
Connect your Facebook Messenger account to your SEEMEO profile.
Enter your WhatsApp number and click “Save Changes.”
For better understanding, please watch the tutorial video provided.
The Custom Form feature allows you to add additional fields to your request form displayed on your business page.
For more clarification, please refer to the tutorial video.
Once completed, click “Save Changes.”
This website uses cookies or similar techonoglies to enhance your browsing experience and provide personalized recommendations. By contrinuing to use our website, you agree... Cookie Policy

Email Newsletter
